How To Make A Children’s Lamp
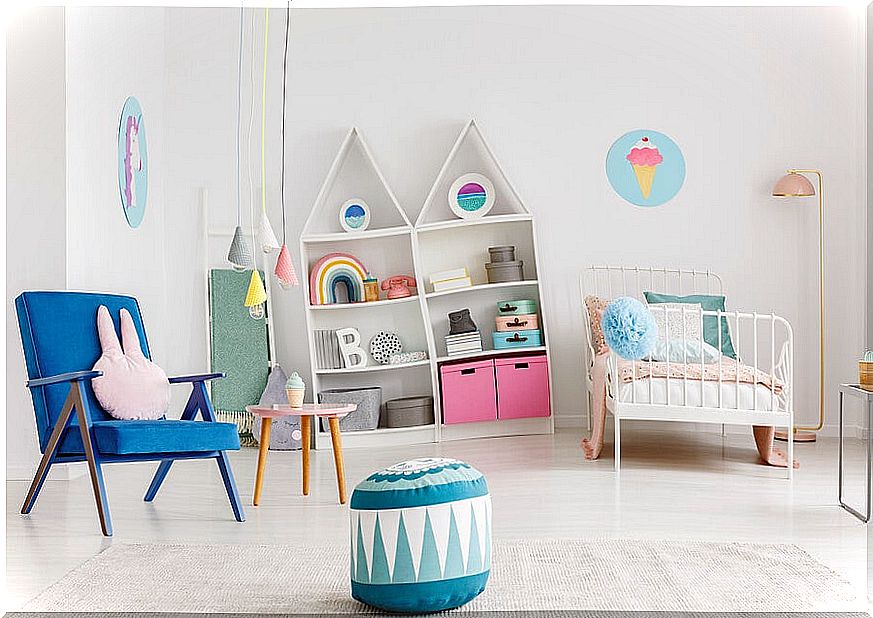
An important aspect when it comes to decorating spaces for children is to always keep in mind the use of friendly elements that encourage their creativity and learning. Therefore, this time we will teach you how to make a children’s lamp.
This is a perfect idea to incorporate in the children’s room. Its design varies according to the tastes or preferences of the child and the parents. In addition, its elaboration does not require expensive materials or previous knowledge of crafts.
On the contrary, designing a children’s lamp is a perfect opportunity to share with them without having to spend a lot of money. Consequently, if you want to learn how to make different types of lamps, keep reading.
How to make a children’s lamp out of paper?
This first idea that we are going to share with you is very simple to carry out and it will only be enough to have a few materials on hand. There is even the possibility that many of them already have them in your house, so you will not have to buy anything.
Discover the whole procedure to make a children’s lamp with paper!
Necessary materials
- Paperboard.
- Patterned paper.
- Rule.
- Silk paper.
- Pencil.
- Scissors or cutter.
- Glue or double-sided tape.
- Ornaments to decorate.
- LED light bulbs or garlands.
Step by step to build it
- Cut out 3 cardboard rectangles measuring 28 by 20 centimeters. Similarly, this will depend on the dimensions you want for your lamp.
- In each rectangle you must cut a window inside, leaving 3 centimeters of edge. Through that space is where the light will pass.
- Line the cartons with the help of patterned paper to personalize your design.
- Proceed to stick a sheet of tissue paper behind each cardboard, so that the light passes through the windows of the lamp.
- Make sure to line the back of each rectangle as well, so that none of the base cardboard is showing.
- Decorate each of the rectangles with the elements you want. For example, movie characters, the person’s name, shapes.
- Join the three parts of the lamp with the help of glue or silicone on each of its edges. The idea is that they are in the shape of a triangle.
- Inside it, insert the lights or LED bulbs you want.
Children’s lamp to put on the wall
This is another very original idea with which you will give a special touch to the room of the smallest of the home. We recommend using LED lights to create the lamps, because it is a material that does not heat up and reduces the chances of accidents.
Materials
- Fine wood or plywood.
- 3 shelf brackets.
- Nuts and bolts.
- Extra strong glue.
- Light bulb.
- Cable.
- Cap
- Switch.
- Pin for the plug.
Step by step for construction
- Cut the sheet of thin wood or plywood to the shape you want. For example, a star, a moon, or a cloud.
- After having the shape you want, paint the wood the color that you like the most.
- To add a much more original detail, you can also customize the wood as you prefer. Some ideas are to write the child’s name or paste pictures.
- When the paint has completely dried, glue two shelf brackets in parallel, but at different heights.
- In the square that you located above you must hook the cable and the bushing.
- You must join the other square with the third that remains.
- Then, that union of the last 2 squares you have to fasten them to the wall, making sure to leave a space between the wall and the wood, enough for the light bulb to enter.
- Finally, it only remains to plug your creation to the power.
This is one of the ways to create a more versatile children’s lamp, since its design adapts to your tastes. For example, in the wood you can make holes for the light to come out through them and provide greater illumination to the space.
There is also the option of modifying the anchoring to the wall, placing small dowels on the back of the wood and, in said dowels, washers. By means of these washers you hang the lamp where you want.
5 other unique ideas of children’s lamps that you can make at home
When it comes to making lamps at home, the only limit is your imagination. In this sense, you always have the option to vary the materials, shapes, finishes and other details so that your creation is personalized.
However, we want to share a list with you with 5 other options that you may not have considered. So the little ones will have a space adapted to their preferences.
1. Origami lamp
To get this origami lamp you have to learn to fold and interlace sheets of paper. One of the most interesting aspects of it is that it projects a different light through the spaces that are created between each figure. It’s time to take advantage of your talent!
2. Pleated paper lamp
It is a very simple option to create paper lamps. One point in its favor is that it can be made with recyclable materials, so you would be contributing to the planet.
The method to do it is to fold 5 sheets of A4 size paper and fold them every 2 centimeters. Once that is done, spread them out in a fan shape, join the sheets and glue them together. To finish, help yourself with a little rope to close it at the top.
3. Lamp decorated with paper circles
Making a lamp decorated with paper circles is part of one of the most creative and aesthetic ideas. With this method you can give a different look to a lamp that you already have at home.
So, we recommend you look for the classic balloon paper lamp and personalize it. To do this, you just have to glue around the same tissue paper circles of the color you prefer. Start from the bottom up to achieve the effect.
4. Cutout paper lamp
If you want to add a touch of light to a space with the help of a minimalist lamp, you will love this option. For its execution you need to have on hand cardboard of the color you want, a scalpel and glue.
The procedure is to take the white cardboard and draw the pattern you want. Once that is done, you should help yourself with the scalpel to cut out the gaps in the design. Finally, fold the cardboard as you wish (in a circle or square) and glue one of the corners to close.
Then insert the bulb inside and turn it on. Without a doubt, it is a very simple and elegant idea. In this way, light will pass through the holes, giving life to the room where you install it.
5. Garlands with paper lights
Finally, we present this recommended idea to give warm ambient light. For this you need garlands and strips of colored paper, newspapers or magazine clippings. It does not matter that the paper you select has a design or pattern, because it will always look good.
With these papers you must make cubes. After that, open one of the corners of a cube a little and introduce the light of the garland. Do the same process with each of the bulbs until you complete it.
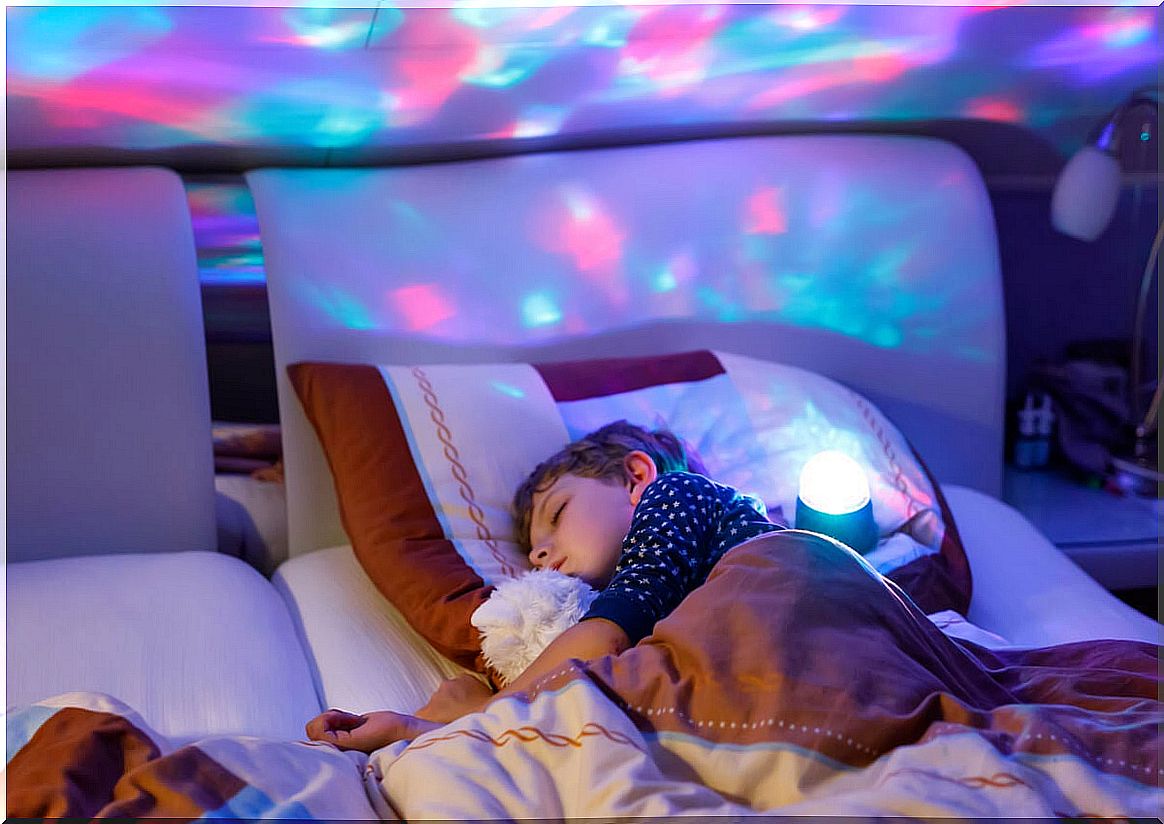
Making children’s lamps is pampering your child
The children’s lamps that we make at home are one more way to show affection to the little ones in the house. By customizing their spaces we are pampering them and offering them the pleasure of what is unique and made with love. Go ahead and build with recycled materials, so that you contribute to the sustainability of the planet.